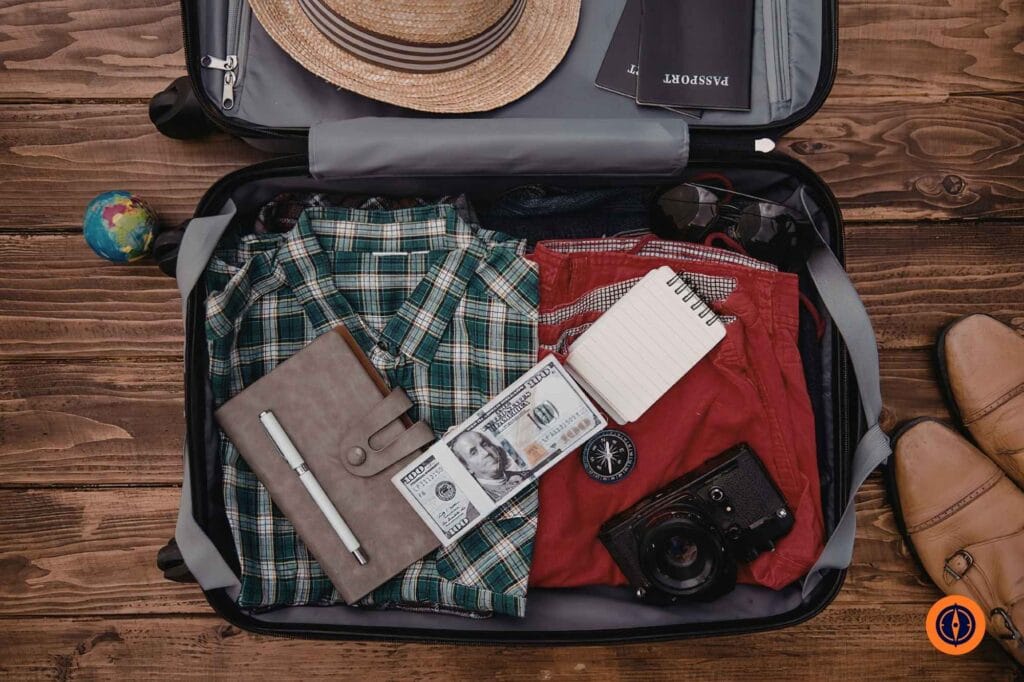
How to Plan Your First Solo Trip
Step-by-Step Guide
Introduction
Planning your first solo trip can feel more intimidating than the trip itself.
When you travel with other people, decisions are shared. Someone else might compare hotels, check transport routes, suggest restaurants, or notice a problem you missed. On your first solo trip, those decisions sit with you. That can feel exciting, but it can also create a lot of pressure if you try to plan everything perfectly.
The good news is that solo travel becomes much easier once you stop treating it as one huge leap and start treating it as a sequence of smaller decisions.
You do not need to become fearless overnight. You need a trip that is realistic enough to manage, safe enough to feel comfortable, and structured enough that you are not solving every problem for the first time while tired, hungry, and standing outside a train station with luggage.
This guide walks through how to plan your first solo trip step by step, from choosing a destination and setting a budget to booking accommodation, planning for safety, and preparing for the emotional side of traveling alone.
The goal is not to make your first solo trip look impressive on paper. The goal is to build a trip that actually works.
After this, you can use my Japan travel guide to compare destinations and build the bigger picture.
Quick Answer: How Do You Plan Your First Solo Trip?
The best first solo trip is usually simple, structured, and confidence-building.
Start by choosing what kind of trip you want, then pick a destination that matches your comfort level rather than your most ambitious travel fantasy. Keep the route small, choose accommodation in a practical location, prepare the first 24 hours carefully, and leave enough flexibility that you are not trapped inside an overpacked itinerary.
For most beginners, a strong first solo trip looks like this:
- one country or one region
- one main base
- around 4 to 7 days
- easy airport-to-hotel logistics
- accommodation near useful transport
- a light plan for each day
- enough budget buffer for mistakes or changes
The easiest mistake is trying to prove too much on the first attempt. A successful first solo trip should build confidence, not test your limits.
Who This Guide Is For
This guide is for travelers who want to take their first solo trip but still feel some hesitation.
Maybe you are comfortable traveling with friends but nervous about being fully responsible for yourself. Maybe you have already done short domestic trips but are considering your first international solo trip. Or maybe you know you want to travel alone, but the planning process feels vague and overwhelming.
This article is not written for ultra-experienced backpackers, luxury travelers with unlimited flexibility, or people trying to visit five countries in ten days. It is written for someone who wants a first solo trip that feels independent, enjoyable, and realistic.
That distinction matters. A beginner solo trip should not be designed like a challenge. It should be designed like a strong first step.

What a Good First Solo Trip Actually Looks Like
A good first solo trip is usually simpler than the version people imagine.
It does not need to include multiple cities, overnight trains, complicated transfers, or a packed list of famous attractions. In fact, the first trip often works better when it feels almost too manageable on paper. That extra simplicity gives you room to adjust when real travel friction appears.
A strong first solo trip usually has one clear base. You arrive, check in, learn the neighborhood, and build confidence from there. Instead of spending half the trip moving between places, you get to practice the basics: eating alone, navigating local transport, choosing what to do each day, handling tired moments, and realizing that you can solve small problems without someone beside you.
The first 24 hours matter especially. If arrival is easy, accommodation is practical, and the first evening is light, the whole trip usually starts from a calmer place. If arrival is messy, late, and poorly planned, even a good destination can feel harder than it really is.
A good first solo trip should feel like something you can still handle on a low-energy day. That is a useful test. If the plan only works when you are confident, well-rested, and perfectly on schedule, it may be too fragile for a first attempt.
Step 1: Decide What You Want From the Trip
Before choosing a destination, get honest about what you actually want from this trip.
A lot of first-time solo travelers skip this step and go straight into researching “best solo travel destinations.” That can be useful, but it can also create confusion because those lists rarely know your personality, budget, or comfort level.
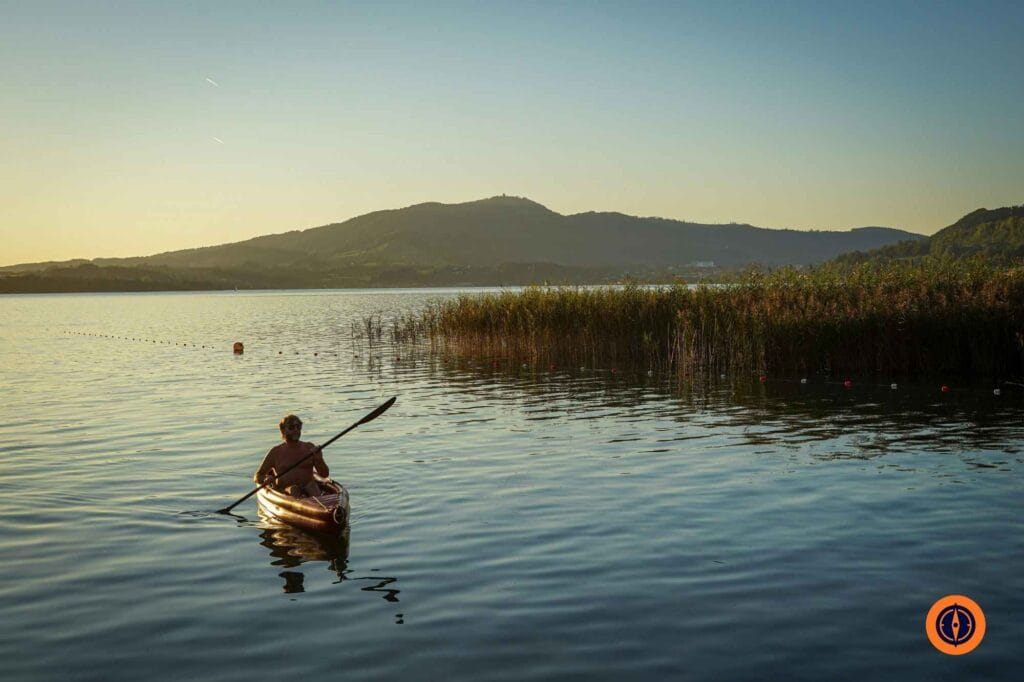
Start with the feeling you want the trip to have.
Do you want rest, exploration, independence, food, culture, nature, or a bit of everything? Do you want a city where you can stay busy, or somewhere slower where you can think and reset? Do you want to meet people, or would you prefer privacy and quiet? Do you want the trip to stretch you a little, or do you mainly want proof that you can travel alone safely?
These answers shape the entire plan.
Someone who wants museums, cafés, and easy transport should not plan the same first solo trip as someone who wants hiking, hostels, and social nightlife. Neither style is better. The point is to choose the trip that fits your actual needs, not the version of solo travel that looks most impressive online.
A useful rule is this: choose the trip you would still want to do even if nobody else ever saw the photos.
If you are already leaning toward Japan, the Tokyo travel guide, Kyoto travel guide, and Osaka travel guide will help you understand what each city actually feels like.
Step 2: Choose a Beginner-Friendly Destination
A beginner-friendly destination is not boring. It is strategic.
For a first solo trip, the best destination is usually one that lowers friction. You want somewhere with clear transport, easy accommodation options, reliable information online, manageable safety considerations, and enough to do without needing complicated logistics every day. For a more destination-specific safety example, you can also read my Japan safety guide.
Good beginner destinations tend to have easy airport access, well-reviewed accommodation areas, food options that do not require heavy planning, and public transport or walkable neighborhoods. The destination should let you recover from small mistakes without the whole day falling apart.
A destination may be harder for a first solo trip if it depends heavily on driving, has limited public transport, requires constant negotiation, has weak late-night transport, or has very little information available in a language you can comfortably use. That does not mean those places are bad. It simply means they may be better for a later solo trip.
Before booking, check official safety and health information. For example, the U.S. State Department travel advisories and CDC Travelers’ Health are useful references, even if you should also check your own government’s travel guidance.
If Japan is one of your options, my guide to the best cities in Japan can help you compare which places are easiest for a first trip.
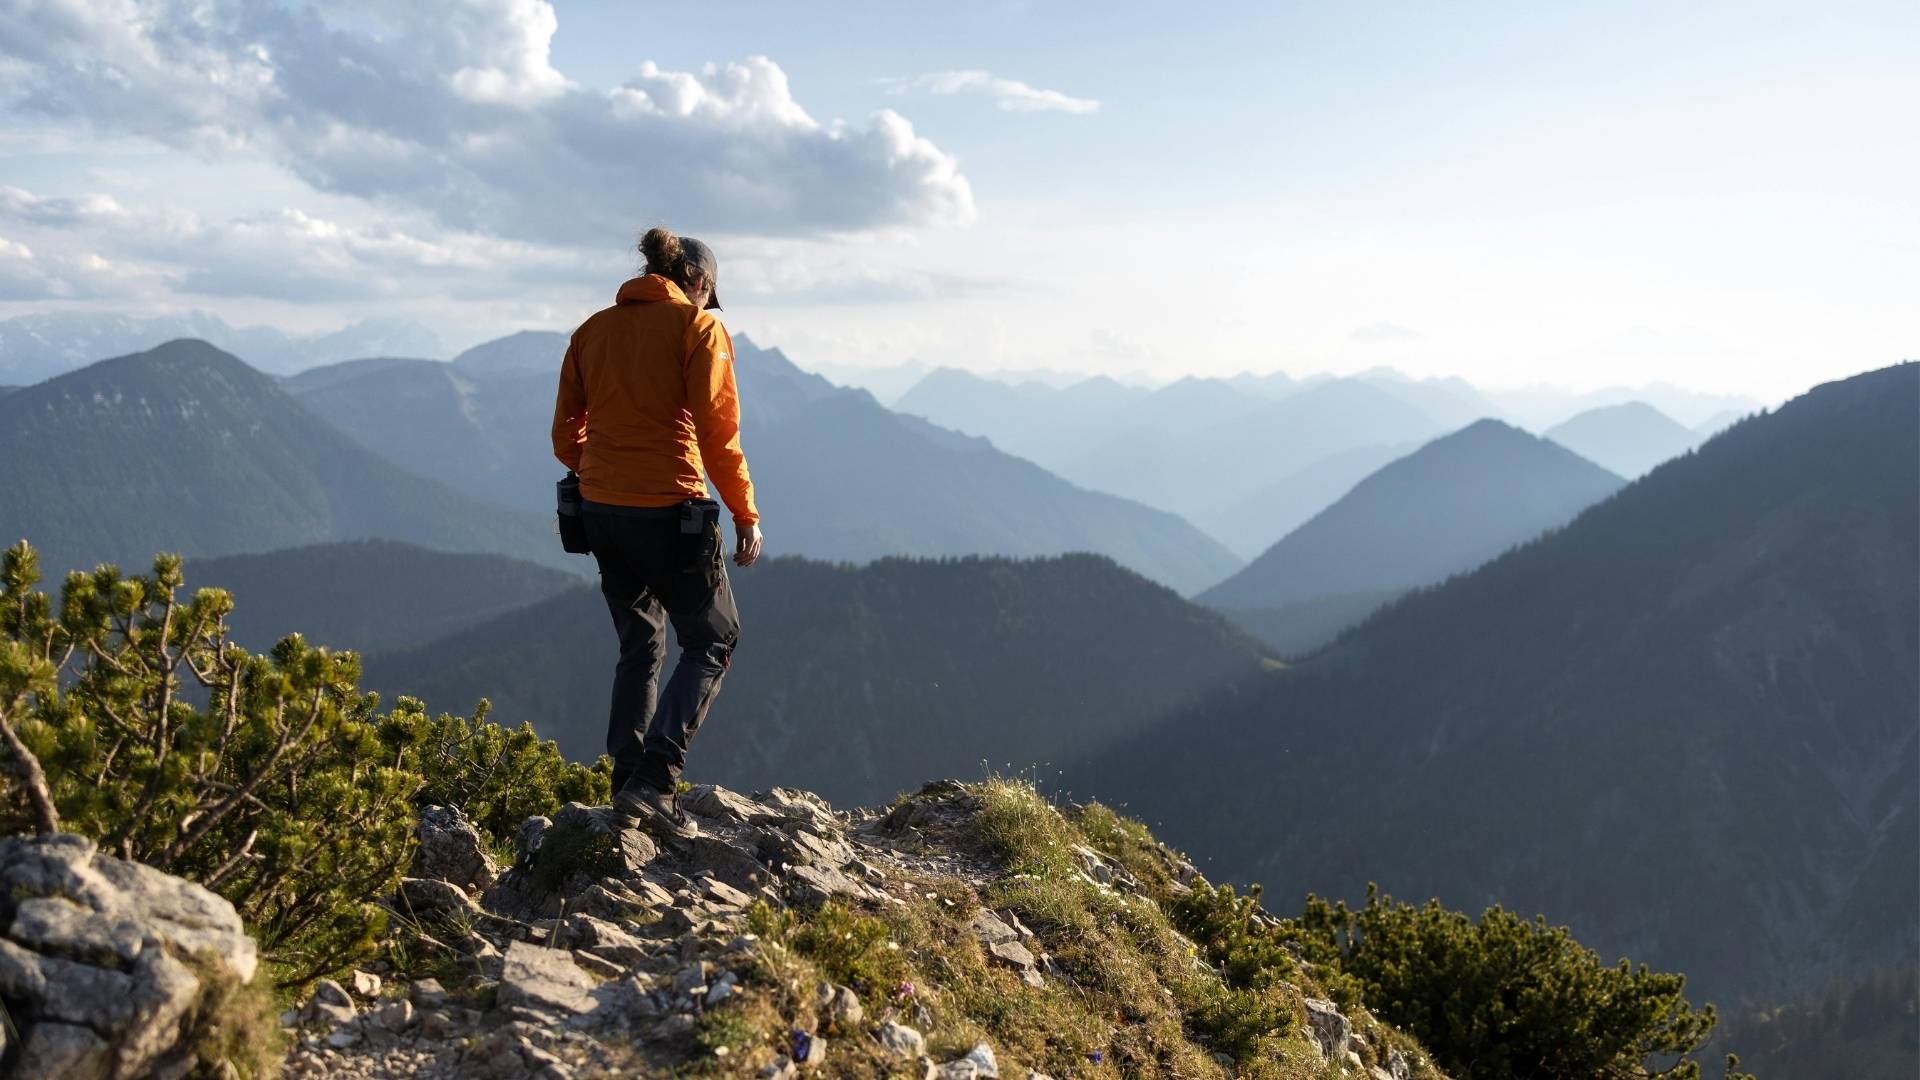
Step 3: Choose the Right Level of Challenge
Your first solo trip should stretch you a little, but it should not overwhelm you.
This is one of the most important planning decisions. If the trip is too easy, that is not a problem. It still builds confidence. If the trip is too hard, you may come home thinking solo travel is not for you, when the real issue was that the route was too complicated for a first attempt.
The right amount of challenge depends on your starting point. If you have traveled internationally many times with others, your first solo trip can probably be a little more adventurous. If you have not traveled much at all, a simple domestic trip or a short city break may be the better first move.
Beginner-friendly does not mean unambitious. It means you are choosing difficulty on purpose.
A good first solo trip should have one or two challenges, not ten. Maybe the destination is new, but the transport is simple. Maybe the language is unfamiliar, but the city is well organized. Maybe you are nervous about eating alone, but your accommodation and arrival plan are easy.
That balance is what turns the trip into growth instead of stress.
Step 4: Keep the Route Simple
Route simplicity is one of the biggest gifts you can give yourself.
Many first-time solo travelers overbuild the itinerary because they want the trip to feel worth it. The logic is understandable: if you are paying for flights and accommodation, you want to see as much as possible. But on a first solo trip, every extra move adds mental load.
Each hotel change means packing, checking out, navigating to the next place, storing luggage, checking in again, and learning a new area. Each transfer is another moment where tiredness, delays, or confusion can create stress.
For most beginners, one main base is enough. If you want variety, choose easy day trips instead of changing hotels. Day trips let you explore without resetting the whole trip.
A simple route does not make the trip smaller. It makes the trip easier to enjoy.
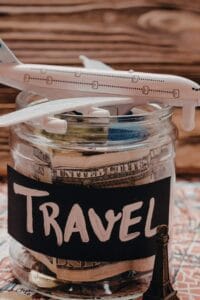
Step 5: Set a Realistic Budget
A realistic budget is one of the strongest confidence tools you can build before traveling alone.
When you know your numbers, small decisions feel less stressful. You can choose a hotel without spiraling, decide whether a taxi is worth it, and understand whether an activity fits the trip instead of guessing every time.
Break the budget into three parts.
First, identify the fixed costs: flights, accommodation, travel insurance, visa fees if needed, and any major transport booked before departure. These are the costs that shape whether the trip is realistic.
Second, estimate daily costs: food, local transport, activities, mobile data, laundry, snacks, and small extras. These are the costs you will feel every day.
Third, add a buffer. For a first solo trip, a buffer is not optional fluff. It is what protects you if you need to change accommodation, take a taxi, replace something, get medical help, or solve a booking issue. A good starting point is around 10% to 20% of your estimated trip cost.
The aim is not to make the trip as cheap as possible. The aim is to make it affordable without making every decision feel tight.
If you are trying to estimate real costs, my Japan budget guide breaks down accommodation, transport, food, and daily spending in more detail.

Step 6: Book Accommodation That Reduces Friction
Accommodation matters more on a solo trip than many beginners expect.
When you travel with others, a weaker hotel location can feel annoying but manageable. Alone, it can shape your whole day. If the area feels awkward at night, the station is too far, or the route back is confusing, you may start cutting evenings short or spending more on taxis.
For a first solo trip, prioritize location, recent reviews, and ease of arrival. A smaller room in a practical area is usually better than a larger room that creates daily friction.
Look for accommodation that is near useful transport, easy to reach from the airport or station, and located in a neighborhood that feels active enough without being chaotic. Read recent reviews carefully, especially from solo travelers if available. Pay attention to comments about noise, safety, check-in, walkability, and staff helpfulness.
Hostels can be excellent if you want social energy, but they are not automatically the best choice. If privacy helps you feel calm, a private room may be the better investment. Your first solo trip is not the time to choose discomfort just because it looks more adventurous.
This is the point where it is worth comparing accommodation carefully. A well-located place can make your first solo trip feel much easier than a cheaper room in the wrong area.
Step 7: Plan the First 24 Hours Carefully
The first 24 hours deserve more attention than the rest of the itinerary.
This is when you are most likely to be tired, overstimulated, and unsure of yourself. A strong first day can make the whole trip feel possible. A chaotic first day can make even a good destination feel intimidating.
Before you leave, know exactly how you will get from the airport or station to your accommodation. Save the hotel address offline. Have mobile data ready or know how you will get connected. Keep your first meal simple. Do not plan major sightseeing immediately after arrival unless the travel day is genuinely easy.
Your first evening should be light. Walk around the hotel area, find food, buy water or basic supplies, and let yourself settle. You are not wasting the trip by taking it slowly. You are giving yourself a stable start.
Mobile data is one of the easiest ways to reduce arrival stress. If you want to set it up before departure, this is a good place to compare eSIM options.
Step 8: Build a Flexible Itinerary
A good first solo itinerary gives you direction without trapping you.
Instead of planning every hour, plan each day around one main area or activity. Then add one optional idea. That gives you enough structure to avoid decision fatigue, but enough flexibility to rest, change your mind, or follow something interesting.
A strong first solo itinerary often has a gentle rhythm. Arrival day stays light. The first full day gives you a clear win. The middle of the trip has room to slow down. The final day avoids anything too complicated before departure.
This matters because solo travel can create decision fatigue. When every choice is yours, even small decisions can become tiring. A light framework reduces that pressure without removing freedom.
The best itinerary is not the one with the most saved pins. It is the one you can still enjoy when you move slower than expected.
For a practical example of how this works in one country, my Japan itinerary guide shows how to think about 7, 10, and 14 day routes.
Step 9: Plan Safety, Health, and Emergency Basics
Safety planning should make you calmer, not more anxious.
Before departure, check official travel advisories, health guidance, entry requirements, and local emergency numbers. The CDC Travelers’ Health site is useful for health preparation, and the U.S. State Department travel advisory page is a useful example of official destination risk guidance. Use your own country’s official advisory as well.
If your government offers traveler registration, consider using it. For U.S. travelers, that is STEP, which helps travelers receive alerts and makes it easier for the embassy to contact them in an emergency.
Practical safety is mostly about systems. Share your basic itinerary with someone you trust. Keep offline copies of key bookings. Save your hotel address. Carry a backup payment method separately. Know how to get help if your phone dies. Keep emergency contacts accessible.
Travel insurance belongs in this stage too. Even a safe destination can become expensive if you need medical care, replacement flights, or help after a disruption.

Step 10: Prepare for the Emotional Side of Solo Travel
This part matters more than people admit.
Your first solo trip may feel exciting, but it may also feel strange at moments. The first solo meal can feel awkward. The first evening alone can feel quiet. A wrong turn can feel bigger than it really is. A low-energy day can make you wonder whether you are wasting the trip.
None of that means you are failing.
Solo travel has an adjustment period. You are learning how to move through the world without someone else reflecting decisions back to you. That can feel freeing and uncomfortable at the same time.
It helps to build small routines. Choose a breakfast place near your hotel. Check in with someone at home at a predictable time. Keep one flexible activity in your back pocket for low-energy days. Give yourself permission to rest without calling it a wasted day.
A successful first solo trip does not need to feel magical every hour. It needs to show you that you can handle the experience.
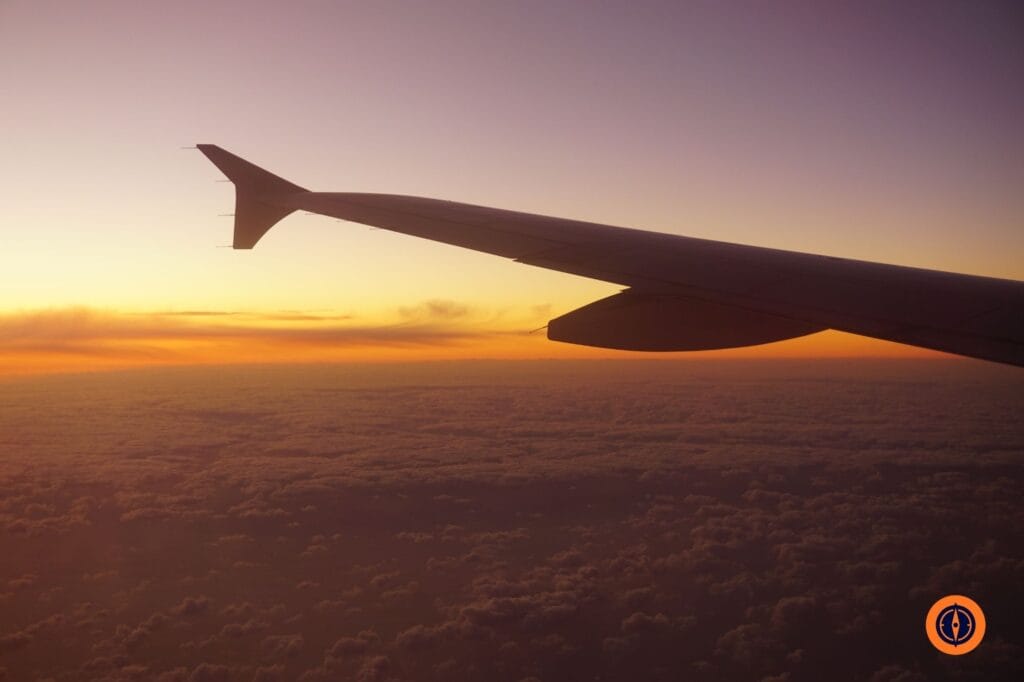
What to Book First and What Can Wait
One way to reduce planning stress is to separate urgent bookings from flexible ones.
Book the essentials first: flights, first accommodation, travel insurance, and the airport arrival plan. If your destination requires a visa, entry authorization, or advance transport booking, handle that early too.
After that, book only the things that would genuinely damage the trip if they sold out. That might be a special tour, a museum with limited tickets, or a specific train on a busy route.
Leave some things flexible. Many meals, neighborhood walks, cafés, casual activities, and lower-priority attractions do not need to be locked in before departure. Keeping some space open is part of what makes solo travel enjoyable.
The goal is to secure the parts that protect the trip and leave room for the parts that make it feel alive.
Common Mistakes First-Time Solo Travelers Make
The biggest mistake is choosing a trip that is exciting but operationally messy. A destination can look beautiful online and still be a poor first solo choice if arrival is difficult, transport is weak, or accommodation options are awkward.
Another common mistake is booking the cheapest accommodation without understanding the location. This often creates daily stress that costs more in the end, either through taxis, lost time, or reduced confidence.
Many beginners also overplan every day. This usually comes from wanting control, but it can make the trip feel like a performance. Solo travel works better when you give yourself a clear shape without trying to script every hour.
Finally, some travelers skip backup planning because they do not want to think about things going wrong. That is understandable, but not helpful. Insurance, emergency contacts, offline documents, and a small budget buffer are not signs of fear. They are what let you relax.
Final Verdict
Planning your first solo trip gets easier once you stop trying to make it perfect.
The strongest first solo trip is usually simple, practical, and confidence-building. Choose a destination that supports beginners. Keep the route clean. Book accommodation that makes daily life easier. Prepare the first 24 hours carefully. Give yourself a budget buffer. Plan enough to feel secure, but not so much that the trip loses its flexibility.
Your first solo trip is not a final exam. It is a beginning.
If you build it well, you do not just come home with photos. You come home with evidence that you can handle more than you thought.
FAQs About Planning Your First Solo Trip
How long should my first solo trip be?
For most people, 4 to 7 days is ideal. That is usually long enough to build confidence without turning the trip into a high-pressure test.
What is the best destination for a first solo trip?
The best first destination is usually one with reliable transport, a manageable language barrier, good tourism infrastructure, and a route that does not require constant problem-solving.
Is solo travel safe for beginners?
Solo travel can be very safe for beginners when the destination is chosen well and the planning is sensible. Safety usually comes more from smart preparation than from trying to eliminate all uncertainty.
Should I stay in a hostel on my first solo trip?
Only if it matches your comfort level. A hostel can be great if you want social energy, but a private room in a hotel may be the better choice if privacy helps you feel calmer.
How much money should I save for my first solo trip?
That depends on destination and travel style, but you should budget for fixed costs, daily spending, and an emergency buffer of at least 10% to 20%.
What if I get lonely on my first solo trip?
That is normal. Feeling lonely at moments does not mean the trip is failing. Good accommodation choice, light structure, and realistic expectations help a lot.
Should I plan every day in advance?
No. A better approach is one main activity or area per day, plus one optional plan. That gives you structure without making the trip feel rigid.
What is the biggest mistake first-time solo travelers make?
Usually it is making the trip too ambitious. A cleaner route and a simpler destination usually lead to a much better first experience.
Do I need travel insurance for a solo trip?
Travel insurance is strongly recommended, especially because you are responsible for solving problems yourself if something goes wrong.
How do I make the first day easier?
Keep arrival day light, know your route to the accommodation, save key information offline, have mobile data ready, and avoid major sightseeing immediately after arrival.
Disclosure: This post may contain affiliate links.


Compare prices across top platforms in seconds.