How to Budget for Your First Solo Trip
Complete Beginner Breakdown
Introduction
Learning how to budget for your first solo trip is not just about adding up flights, hotels, and food.
The harder part is understanding how travel feels when every cost is yours alone. When you travel with another person, some expenses can be shared. A hotel room, taxi, airport transfer, groceries, or private tour may feel lighter because the cost is split. On a solo trip, those same decisions affect your budget directly.
That does not mean solo travel has to be expensive. It means the budget needs to be more honest.
A good solo travel budget should help you answer three questions before you book: what can you comfortably afford, what will the trip realistically cost, and where do you need financial breathing room if something changes?
This guide walks through how to budget for your first solo trip in a practical way. It covers fixed costs, daily spending, accommodation choices, emergency buffers, hidden costs, and the common mistakes that make first-time solo trips more expensive than expected.
The goal is not to plan the cheapest possible trip. The goal is to plan a trip you can actually enjoy without feeling financially tense the whole time.
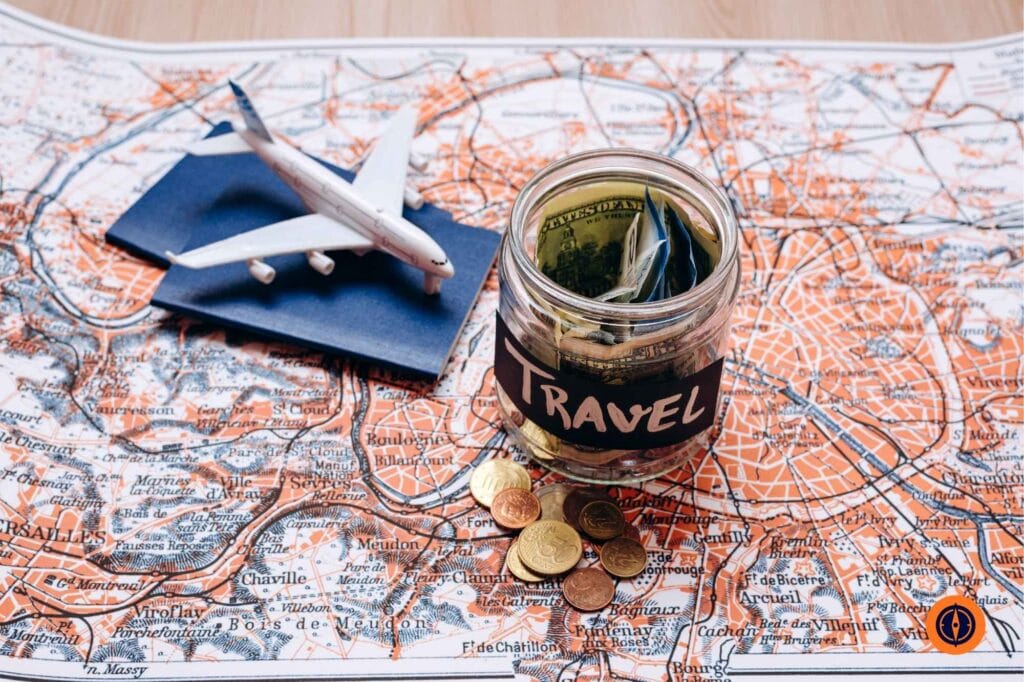
Quick Answer: How Do You Budget for Your First Solo Trip?
The best way to budget for your first solo trip is to work backward from the total amount you can comfortably spend.
Start with your maximum comfortable budget, then subtract fixed costs such as flights, accommodation deposits, insurance, visa fees, and any major pre-booked transport. What remains becomes your daily spending allowance for food, local transport, activities, mobile data, and small extras.
A strong beginner budget usually includes:
- fixed costs you can confirm before departure
- daily spending estimates based on the destination
- an emergency buffer of around 10% to 20%
- a separate amount for optional shopping or splurges
- enough flexibility to change plans without panic
The most important rule is simple: do not build your first solo trip around the lowest possible cost you found online. Build it around the version of the trip you can realistically afford and still enjoy.
Why Solo Travel Budgeting Is Different
Solo travel budgeting is different because there is no cost-sharing safety net.
Accommodation is the clearest example. A private hotel room costs the same whether one person sleeps in it or two. The same is true for many taxis, airport transfers, rental cars, and some tours. Group travel can hide those costs because they are divided. Solo travel makes them visible.
That visibility is not a bad thing. It can actually make you more intentional. You get to decide where comfort is worth paying for and where it is not. You can choose a smaller room in a better location, eat simply most days and spend more on one excellent meal, or skip a tour that does not really matter to you.
The risk is that solo travelers sometimes underestimate how quickly small decisions stack up. A taxi because you arrived late, a café break because you are tired, a replacement charger, a luggage locker, a last-minute activity, a safer hotel upgrade. None of these is dramatic on its own. Together, they can move the trip beyond the original budget.
That is why your first solo travel budget should include margin. You are not only budgeting for the ideal version of the trip. You are budgeting for the real version, where travel days are tiring and plans change.
What This Budget Guide Assumes
This guide is written for a beginner solo traveler planning a normal first trip, not an extreme budget challenge and not a luxury holiday.
It assumes you want a trip that is comfortable enough to feel safe and enjoyable, but still financially sensible. It also assumes you are likely choosing one country or one region, staying in practical accommodation, and using a mix of public transport, walking, and occasional paid activities.
The advice works best if you are planning:
- a first solo trip of around 4 to 10 days
- one main base or a simple route
- budget to mid-range accommodation
- a realistic food budget rather than constant splurging
- some paid activities, but not a fully guided itinerary
If you are still deciding what kind of solo trip to take, you can read more in our How to Plan Your First Solo Trip guide.
Step 1: Start With a Comfortable Total Budget
Before researching hotels or flights, decide how much you can spend without creating stress after the trip.
This number should come from your actual financial situation, not from what someone online says a destination can cost. A trip is not affordable just because another traveler managed to do it cheaply. It is affordable when you can pay for it without weakening your essential savings, missing obligations, or returning home anxious about money.
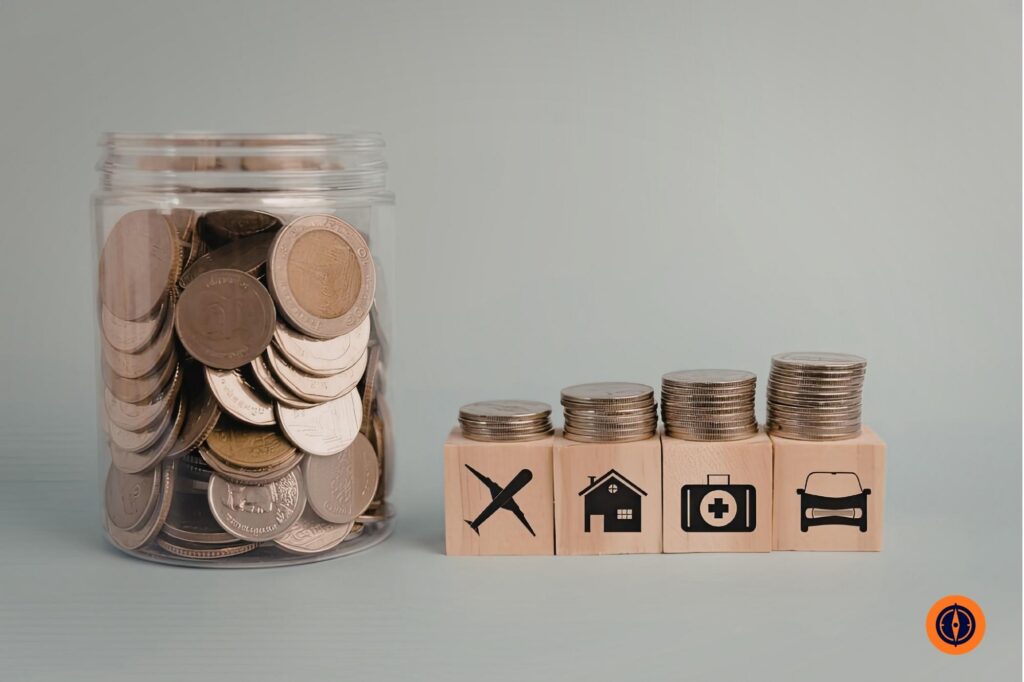
A useful way to think about this is to separate three pools of money.
Your trip budget is the amount you are willing to spend on the planned trip. Your emergency buffer is money reserved for unexpected problems. Your normal savings should stay separate and untouched.
This separation matters. If your emergency buffer and your normal savings are the same thing, you may feel more anxious every time something goes wrong. A cleaner budget gives you permission to solve problems calmly.
Once you know your total number, the rest of the planning becomes easier. Destination, accommodation, transport, and trip length all need to fit inside that boundary.
Step 2: Calculate Fixed Costs First
Fixed costs are the expenses you can usually confirm before the trip begins. These are the best place to start because they show how much of your budget is already committed.
Flights are often the largest fixed cost, especially for international travel. When comparing fares, do not look only at the headline price. Check baggage fees, layover length, arrival time, seat fees, and airport transfer difficulty. A cheaper flight can become poor value if it lands late at night, requires a difficult transfer, or forces you to pay extra for luggage.
Accommodation is the next major fixed cost. For solo travelers, this is often where the budget changes most. A private room gives comfort and security, but you pay the full room cost yourself. A hostel dorm may reduce costs, but it may not be worth it if poor sleep makes the trip harder.
Travel insurance should also be treated as a fixed cost, not an optional leftover. A safe destination can still involve medical issues, delays, lost bags, or cancellations. The FTC travel scam guidance also recommends understanding terms, refund policies, and insurance details before paying for travel products.
Visa fees, entry fees, airport transfers, and major pre-booked transport should be added here too. Once these fixed costs are clear, subtract them from your total budget. What remains is your flexible spending money.
Step 3: Estimate Daily Spending Honestly
Daily spending is where many first-time solo travelers underestimate the trip.
Food, local transport, activities, coffee, water, snacks, laundry, tips where relevant, small pharmacy purchases, and mobile data all seem minor until they repeat every day. The best approach is to estimate daily spending based on how you actually behave, not how disciplined you imagine you will be.
If you normally enjoy coffee, include coffee. If you like having one relaxed sit-down meal per day, include that. If you know you get tired and prefer the occasional taxi, budget for it instead of pretending you will never use one.
A practical daily budget should include accommodation if it is not already paid, food, local transport, activities, mobile data, and a small miscellaneous amount. The miscellaneous line is important because travel always creates small costs you forgot to name.
Your daily budget does not need to be spent evenly. Some days will be cheap. Other days will include a tour, a longer transport ride, or a nicer meal. The goal is to keep the average under control.
Step 4: Budget for Accommodation With Location in Mind
Accommodation is not just a place to sleep. On a solo trip, it shapes how safe, easy, and expensive each day feels.
A cheaper room in the wrong location can create hidden costs. You may spend more on transport, lose time commuting, skip evening plans, or pay for taxis because the route back feels inconvenient. A better-located room may look more expensive at booking, but save money and energy across the whole trip.
For a first solo trip, I would usually prioritize:
- safe-feeling neighborhood
- easy airport or station access
- recent reviews
- practical walking distance to food and transport
- simple check-in process
- cancellation policy that matches your risk tolerance
This is one place where the cheapest option is not always the best budget decision. A room that helps you feel calm and well located can protect the whole trip.
Step 5: Add an Emergency Buffer
An emergency buffer is not extra spending money. It is the part of your budget that exists so you do not panic.
A practical beginner rule is to add around 10% to 20% of your estimated trip cost as a buffer. If your destination has expensive healthcare, unreliable transport, complicated weather, or a high chance of itinerary changes, lean toward the higher end.
The buffer can cover things like a last-minute hotel change, medical help, missed transport, a replacement card, an unexpected taxi, or an extra night caused by disruption.
This is especially important when traveling alone because there is no one beside you automatically sharing the cost or decision. You can still ask for help, of course, but the immediate financial responsibility is yours.
A buffer gives you emotional room as much as financial room. It lets you make the safer decision instead of the cheapest decision when something goes wrong.
Step 6: Compare Destinations by Real Costs
Destination choice has the biggest impact on your budget.
A place can look affordable because flights are cheap, but still become expensive through accommodation, transport, or activities. Another destination may have a higher flight cost but lower daily expenses. This is why you should compare total trip cost, not just one headline number.
Before committing, check real prices for the exact destination and season. Look at several hotels in the area you would actually stay, not the cheapest listing in the whole city. Check a few restaurant menus, public transport prices, airport transfer options, and the cost of two or three activities you genuinely want to do.
This gives you a more honest picture than relying on social media budgets or old blog posts.
If you are still choosing where to go, you can also read our Best Cities in Japan guide.
Step 7: Watch the Hidden Costs
Most solo travel budgets do not fail because of one huge mistake. They drift through small forgotten costs.
Airport transfers are one of the most common. A city may have cheap daily transport but an expensive airport connection. Baggage fees can also surprise travelers using low-cost airlines. The ticket looks cheap until carry-on size, checked luggage, seat selection, and payment fees appear.
Other easy-to-forget costs include laundry, lockers, toiletries, SIM cards or eSIMs, bottled water, tips where expected, currency conversion fees, attraction booking fees, and replacement items.
The FTC’s travel scam guidance is also worth keeping in mind when booking cheap travel deals. Very low prices, unclear details, pressure to pay quickly, or payment methods like wire transfer, gift cards, or cryptocurrency are warning signs.
A useful habit is to add a small daily “friction budget.” This covers the boring little things that always appear once you are moving through a real place.
Step 8: Track Spending Without Making the Trip Feel Miserable
Tracking your spending should make the trip calmer, not turn every day into homework.
You do not need a complicated spreadsheet while traveling. A simple notes app, budgeting app, or evening check-in is enough. What matters is noticing patterns before they become problems.
A good method is to set an average daily allowance. If your flexible spending budget is $700 for 7 days, your average is $100 per day. You do not need to spend exactly $100 every day. You just need to understand when one expensive day should be balanced by a simpler one later.
This is especially useful on solo trips because there is nobody else naturally slowing down spending decisions. You decide every coffee, taxi, activity, and upgrade. A light tracking habit keeps those choices visible.
The goal is not restriction. It is awareness.
Sample 7-Day Solo Trip Budget
A sample budget can help, but it should be treated as a model, not a promise. Your actual costs will depend heavily on destination, season, comfort level, and booking timing.
For a moderate 7-day solo trip, the structure might look like this:
- flights and baggage
- accommodation for 6 or 7 nights
- travel insurance
- visa or entry costs if needed
- local transport and airport transfers
- food and drinks
- activities and attractions
- mobile data
- emergency buffer
A traveler might start with a total comfortable budget of $1,800. If flights, insurance, entry fees, and the first accommodation booking take $900, that leaves $900 for daily spending and buffer. From there, the traveler might set aside $200 as a buffer and use the remaining $700 as the flexible spending budget.
That creates a daily average of $100.
This kind of calculation is more useful than asking whether a destination is “cheap” or “expensive.” It shows whether the trip works for your actual budget.
Common Budget Mistakes First-Time Solo Travelers Make
One common mistake is budgeting based on the cheapest version of a destination. A traveler sees a hostel bed, a cheap flight, and a low food estimate, then assumes the whole trip can be built around those best-case numbers. In reality, the cheapest choices may not match their comfort level.
Another mistake is ignoring arrival and departure costs. Airport transfers, early check-ins, late flights, luggage storage, and the first meal after arrival often happen when you are tired and less price-sensitive.
Many solo travelers also underestimate accommodation. Group travelers can split rooms. Solo travelers often cannot. This makes location and room type much more important.
Finally, some beginners skip the emergency buffer because they want the trip to look affordable. That is understandable, but risky. If the only version of the trip that works is the perfect version, the budget is too tight.
How to Save Money Without Making the Trip Worse
Good budgeting is not about cutting everything. It is about cutting the spending that does not improve the trip.
Stay in a practical area rather than the trendiest one. Choose simple meals most of the time and protect one or two meaningful food experiences. Use public transport when it is easy, but keep enough margin for a taxi if it is the safer or calmer decision. Book important things early enough to avoid weak last-minute options.
The best savings usually come from route simplicity. One base, fewer transfers, and a realistic pace can save money without making the trip feel worse.
The worst savings usually come from making daily life harder. A hotel that is too far out, a painful flight schedule, or a route with too many cheap-but-awkward transfers can drain the trip quickly.
Spend where it reduces real friction. Save where the cheaper choice does not meaningfully hurt the experience.
Final Verdict
Budgeting for your first solo trip is really about building confidence.
You are not just calculating expenses. You are creating a plan that lets you make decisions calmly while traveling alone. A good budget gives you structure, margin, and permission to enjoy the trip without constantly wondering whether you are overspending.
Start with what you can comfortably afford. Confirm the fixed costs. Estimate daily spending honestly. Add an emergency buffer. Choose accommodation that makes the trip easier. Track lightly while you travel.
A good first solo trip budget does not need to be perfect. It needs to be realistic enough that the trip still works when real life shows up.
FAQs About Budgeting for Your First Solo Trip
How much money do I need for my first solo trip?
It depends on the destination, trip length, and travel style. The safest approach is to calculate fixed costs first, estimate daily spending, and add a 10% to 20% emergency buffer.
Is solo travel more expensive than group travel?
Solo travel can be more expensive because you usually cannot split accommodation, taxis, or some tours. However, you also have full control over where to save and where to spend.
What is the biggest solo travel expense?
Accommodation is often the biggest controllable expense for solo travelers, especially if you want a private room in a practical location.
Should I book the cheapest accommodation?
Not always. The cheapest accommodation can become poor value if it is far from transport, feels unsafe, or creates extra taxi and time costs.
How much emergency money should I bring?
A good beginner rule is to set aside around 10% to 20% of your estimated trip cost as an emergency buffer.
Should I track spending during my solo trip?
Yes, but keep it simple. A quick daily check-in is usually enough to stay aware without making the trip feel restrictive.
Is travel insurance part of the budget?
Yes. Travel insurance should be treated as a fixed trip cost, not an optional extra after everything else is booked.
How can I save money on my first solo trip?
Choose a simple route, stay in a practical area, book important costs early, use public transport when reasonable, and avoid paying for convenience that does not improve the trip.
Disclosure: This post may contain affiliate links.


Compare prices across top platforms in seconds.