Japan 7 Days Itinerary for First-Time Visitors
Tokyo, Kyoto and Osaka
Introduction
A one-week trip to Japan can definitely make amazing memories, but only if you ensuring your schedule is realistic. The biggest mistake first-time visitors make is trying to fit the whole country into seven short days. Although Japan looks small on a map, travel videos make the cities look close to one another, and the bullet trains are incredibly fast, but in reality, your patience, energy, and time can be drained easily by packing up your bags and switching hotels.
For your first visit to Japan, the best route is to focus on Tokyo, Kyoto, and Osaka. This particular route provides a strong foundation of experiencing almost everything: beautiful temples, shopping, amazing food, ancient culture, and futuristic cities. Best of all, it keeps your train travel smooth and simple. While you can opt for other routes, but this is the most rewarding and safest choice for beginners.
This guide will provide actual facts on how to navigate a 7-day Japan route effectively without burning yourself out by day three. If you’re travelling solo, this route is perfect as it concentrates on major cities with straightforward train stations and English-friendly signs.
Before you book a hotel room or single flight, you have to understand what a week in Japan actually costs. Balancing your expectations by having a solid budget breakdowns will save you a massive headache later.
The Ultimate 7 Days Japan Itinerary
Your planning for Japan trip can feel overwhelming if it is your first time, but maximizing the experience of short stay depends on the smart route design. Most first-time travellers focus on the “Golden Route” if the itinerary is just for 7 days. This standard path connects Tokyo with the Kansai region from ultra-modern energy to deep traditional culture.
By prioritizing quality over quantity, you will spend less time in switching hotels and more time to experience vibrant neighbourhoods, historic landmarks, and world-class dining in Japan.
- Day 1: Arrival in Tokyo – Land, hotel check-in, adapt to local time zone and take a relaxing walk around the nearby neighbourhood.
- Day 2: Explore Classic Tokyo – Immerse in historic Japan like wandering in the traditional street of Ueno and visiting the ancient Senso-ji Temple in Asakusa.
- Day 3: Modern Tokyo & Nightlife – Experience the city’s popular futuristic energy such neon-lit alleys of Shinjuku, towering skycrapers, and iconic Shibuya Crossing.
- Day 4: Bullet Train to Kyoto – Take the Shinkansen (bullet train) to Japan’s cultural capital, try to check in early for exploring the atmospheric and historic streets of Higashiyama or Gion.
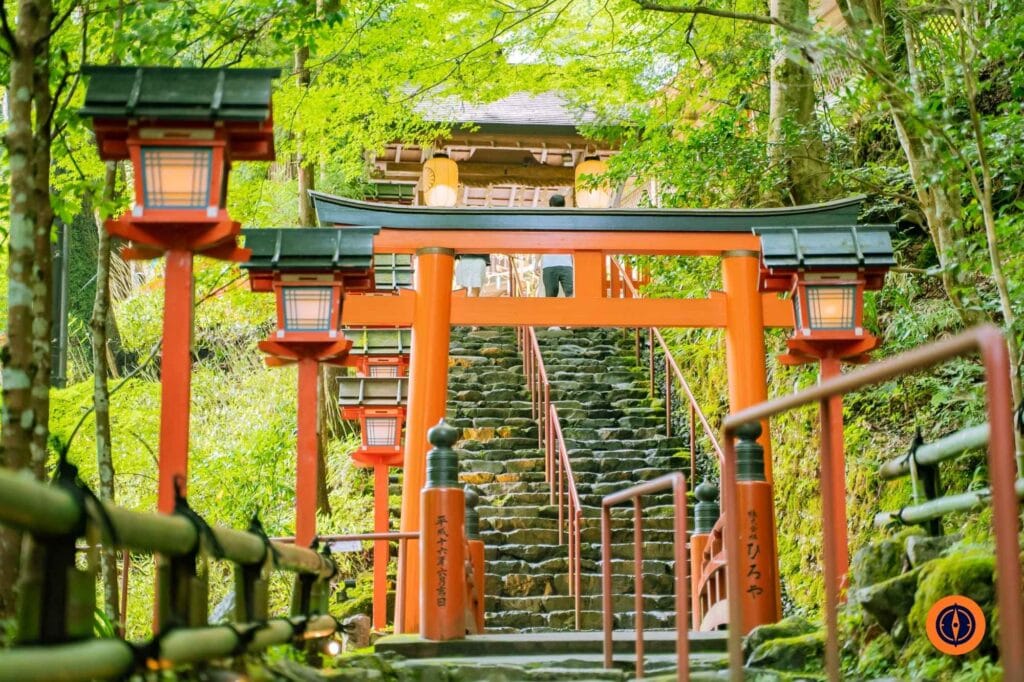
- Day 5: Kyoto’s Iconic Temples – Spend your day to Kyoto’s architectural wonders such as the endless red torii gates of Fushimi Inari Shrine and the brilliant Kinkaku-ji (Golden Pavilion).
- Day 6: Day Trip to Nara or Osaka – Consider for a 30-minutes train ride to visit the Nara park to feed the bowing deers or head to Osaka for its vibrant street food culture of Dotonbori.
- Day 7: Final Discoveries & Departure – Go for last-minute souvenir shopping in Kyoto or Osaka if the time still allowed or catch a high-speed train back to Tokyo for your departure flight.
Strategic Flight Planning: Multi-City Versus Round-Trip
Logistical efficiency is critical if you want to get the best experience in a one-week trip. It is recommended to book an open-jaw (multi-city) flight. This means flying directly into Tokyo (Narita or Haneda) and flying out of Osaka (Kansai International Airport). This strategy removes the whole day of backtracking and saves significant transit costs.
If you have locked in round-trip ticket where you will be in and out of Tokyo, the itinerary here is still highly practical but you need to plan your budget and time appropriately during the last day. You have to ensure you have buffer time about 3-4 hours to ride the Shinkansen back from the Kansai region directly to your Tokyo departure airport.
The Golden Rule of 7 Days Japan Travel – Avoid Overpacking
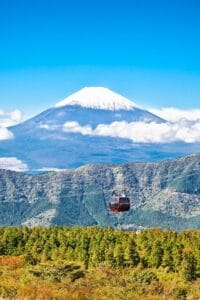
The common mistake first-time visitors make is trying to visit the whole country in just 7 days. It is highly impossible to execute the plan and recommend to avoid adding destinations like Hokkaido, Kanazawa, Hakone, Mount Fuji, or Hiroshima to this particular timeline unless you are willing to exclude the entire trip of Kyoto or Tokyo.
These regional destinations indeed offer memorable experiences but compiling them into a single week makes your trip extremely stressful in terms of hotel check-outs and train transfers. Keeping your hotel base in just two main hubs ensures you can fully enjoy your Japan’s limited trip.
Fundamental Planning Strategy for Your First Week in Japan
Building a successful one-week Japan trip needs a strategic approach. Forget about trying to tick off every single temple you saw on Tiktok. Instead, focuses on a tight and logical transit line that can keep you going without backtracking.
It also assumes you are not trying to use the nationwide Japan Rail Pass just because of its convenience. As of May 2026, an ordinary 7-day JR Pass costs 50,000 yen with further announcement made by Japan National Tourism Organization (JNTO) that higher price adjustment will be made from October 1, 2026.
For an iconic point-to-point route from Tokyo to Kyoto or Osaka, purchasing the JR Pass is a financial mistake. Instead, utilize the cost-effective strategies as below:
- Individual tickets: Purchase individual ticket of Shinkansen (bullet train) for long distance journey.
- IC Transit Cards: Use a physical or digital smartphone-linked IC card such as Pasmo Passport or Welcome Suica for convenience store transactions, buses, and city subways.
In addition, book a multi-city flight ticket where you will enter via Tokyo and depart from Osaka and this helps to remove the high-cost rail backtrack which will spend extra time around 3.5 hours during your final day.
Note: If you already booked round trip via Tokyo, you have to allocate a strict time buffer on Day 6 evening or Day 7 morning to return on time from Kansai to your departure airport.
Day 1: Arrive in Tokyo and Keep It Manageable
Your arrival day is about managing essential logistics, jet lag, and travel fatigue. Visiting a major attraction during this day is the common mistake made by first-time visitors. Even if your flight lands early, you will still have to clear immigration and customs, activate your eSim data plans or pick up pre-booked pocket Wi-Fi, collect luggage, pick up or load your digital transit IC card, then take a direct airport train line to your hotel base.
The best first-day plan is to stay near your hotel area. If you stay near Asakusa or Ueno, learn to locate your nearest train entrance, dine at a local noodle shop, and take a quiet evening stroll. On the other hand, if you are staying near Shibuya or Shinjuku (West Tokyo), keep the evening limited to only one area like observing the neon lights instead of trying to navigate massive underground terminal stations. Furthermore, if you stay near central such as Nihonbashi, Ginza or Tokyo Station, make use of the evening for stocking up on snacks at a convenience store, visit a basement food hall (depachika) for high-quality bento boxes, and rest early.
Day 2: Historic Eastern Tokyo Without Rushing
Your first full day should provide you the Tokyo’s historic root like the central or eastern Tokyo first, because the areas connect well.
Asakusa is a strong starting point. Beginning early at Senso-ji, Tokyo’s oldest and most iconic Buddhist temple, introduces you to a more traditional side of the city. After that, walking down Nakamise-dori Street enables you to try traditional snacks like ningyo-yaki (small cakes filled with red bean paste). It is touristy and famous, but it is not a bad experience for first visit, its straightforward pedestrian layout and historical emphasis make it an essential first-day stop.
In the afternoon, you can walk or take a short subway ride towards Ueno or Ameyoko Market depends on your interests. Ueno Park is for you if you want a day that mixes casual street energy and culture as it is home to peaceful shrines and world-class museums. While Ameyoko Market is a busy, open-air market filled with local commerce, clothing shops, and affordable street food stalls.
Day 3: Modern Tokyo and Evening Energy
You will have the chance to immerse in the futuristic Tokyo during day 3 that seen in films: dazzling evening neon, boutiques, towering department stores, and massive pedestrian crossings.
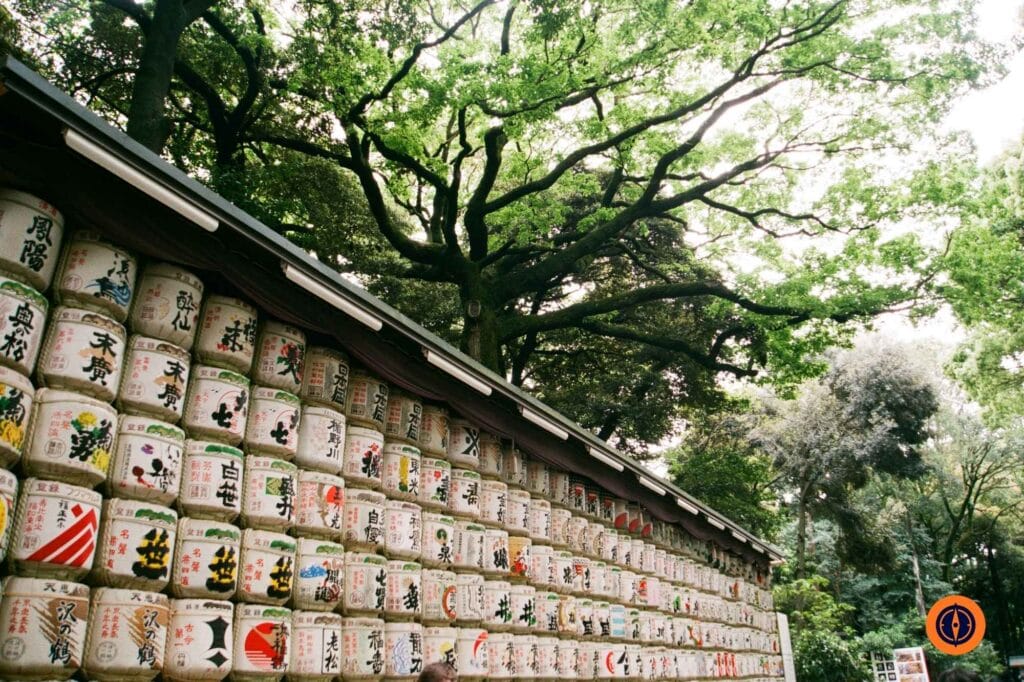
Start your day at Meiji Shrine, a dense and 170-acre forested park located in western Tokyo. Stepping through those wooden torii gates instantly eliminates the city’s traffic noise. It gives you a minute to catch your breath before heading towards the busiest commercial hubs in Tokyo.
Exiting the shrine grounds brings you into Harajuku where there is Takeshita Street, the epicenter of colourful street fashion, viral food trends like towering crepes, and Japanese youth culture. In Omotesando Avenue, you can experience the hidden third-wave coffee shops, upscale boutiques, and architectural flagship stores.
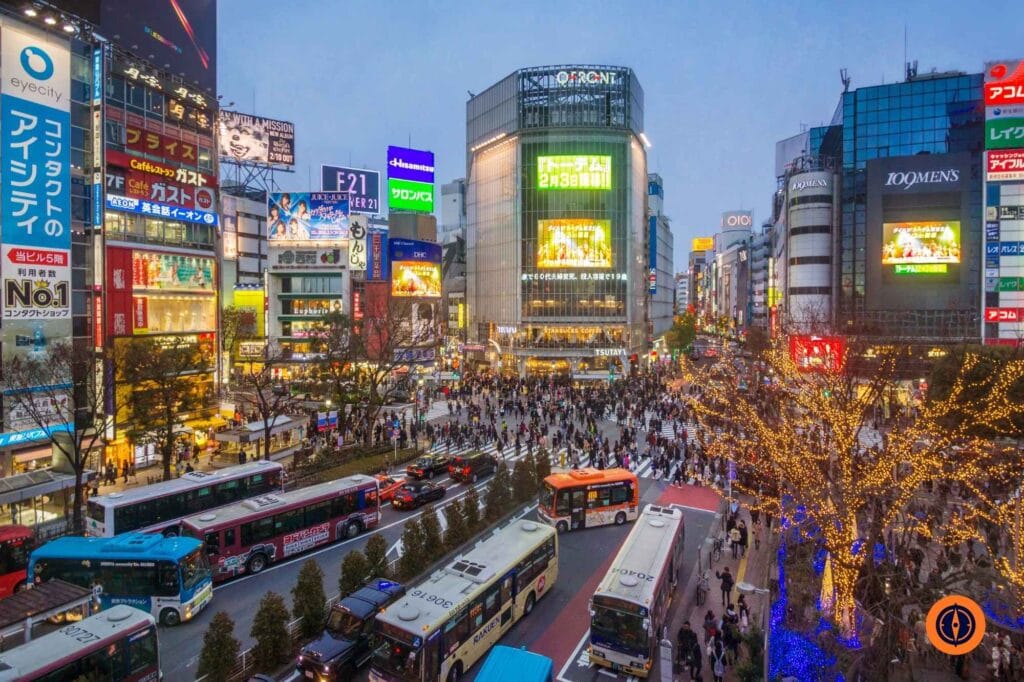
In the afternoon, you can take a one-stop train ride down to Shibuya and you can experience the world’s busiest pedestrian intersection. For the best view, consider to explore the elevated glass walkways that connecting the station buildings instead of paying extra for observation decks. You can also spend extra time in Shibuya underground to explore the maze of basement food halls (depachika) under major department stores such as Shibuya Scramble Square for gourmet snacks.
If you still have the energy during evening, you can head to Shinjuku to experience the narrow dining alleys of Omoide Yokocho, the giant Godzilla head, or the neon-draped streets. Nevertheless, your stamina matters the most as navigating the world’s busiest train station can be overwhelming.
Day 4: Travel From Tokyo to Kyoto
Treat day 4 merely for a transition day and avoid the urge of visiting a morning musuem tour before your train departs. Give yourself a lazy morning to complete check out and fully enjoy the Shinkansen ride down to Kyoto.
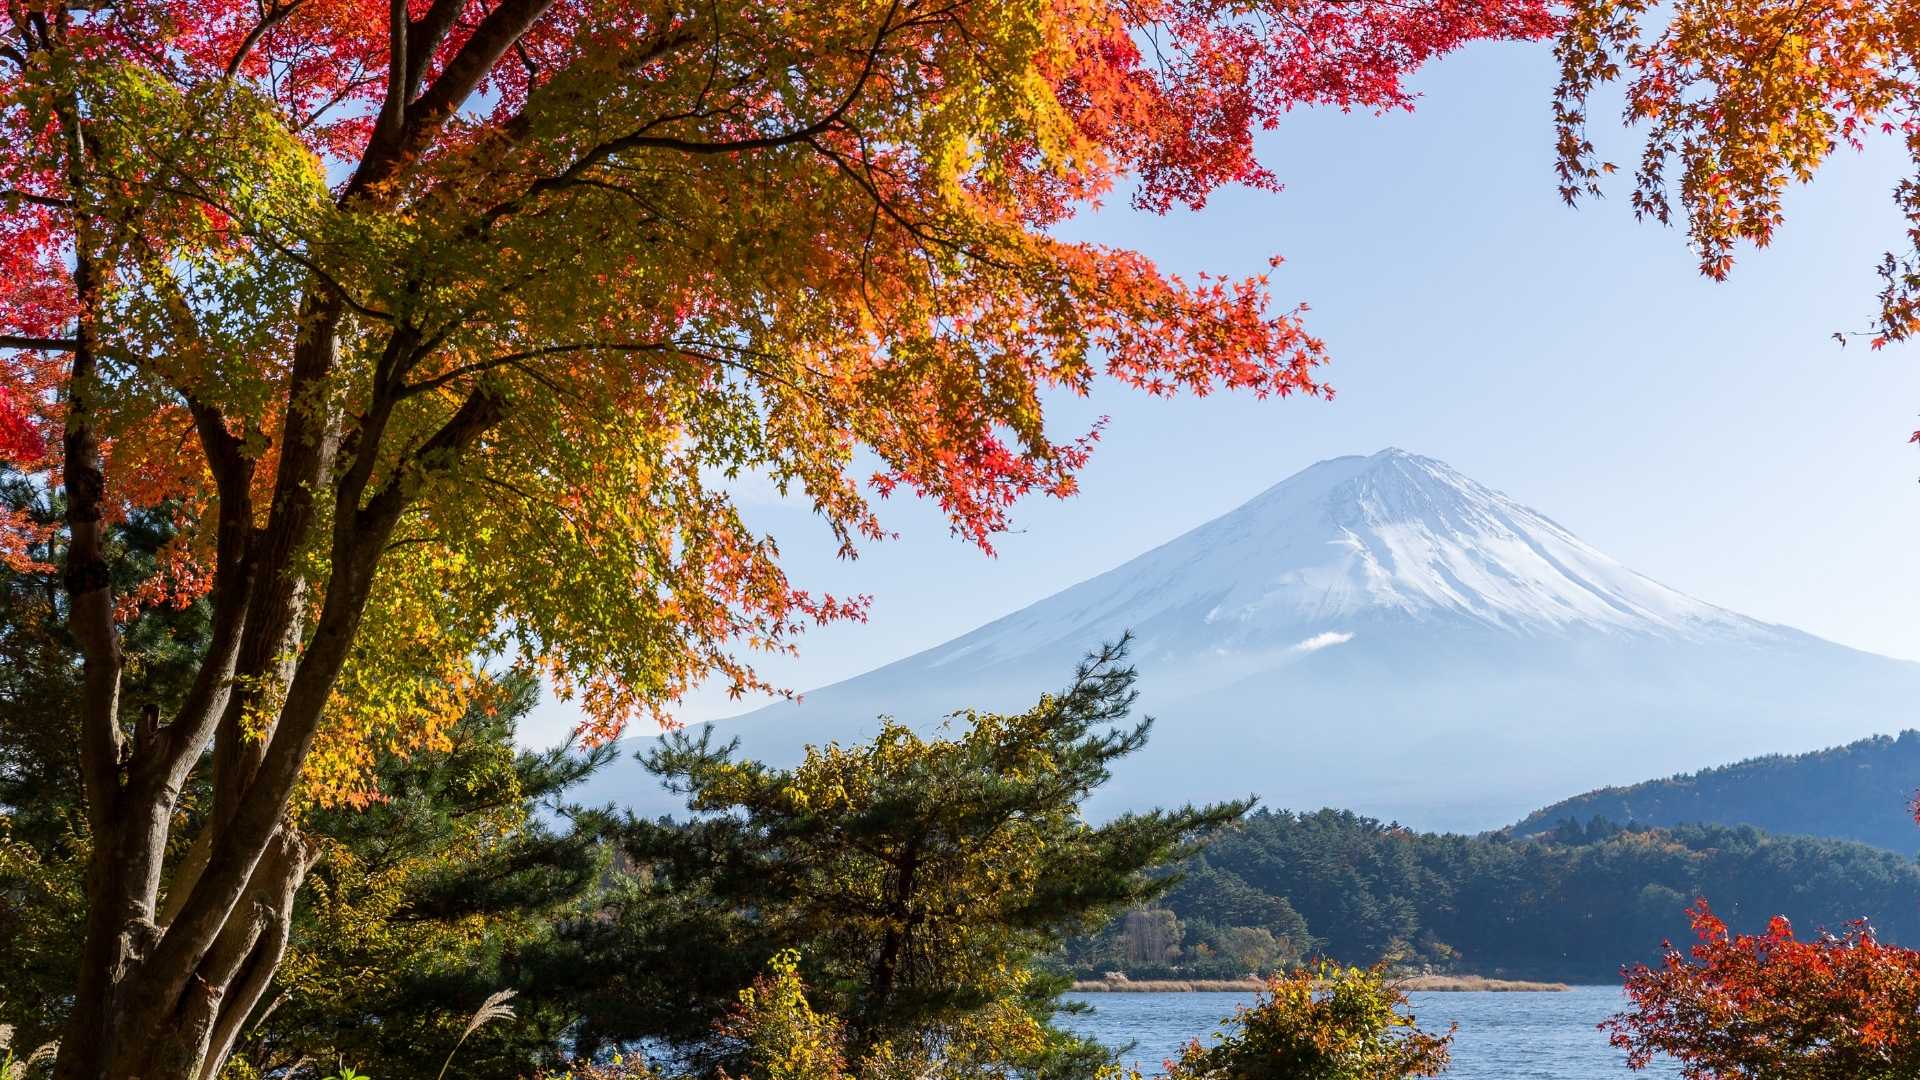
Important tips: Secure your Shinkansen tickets in advance and try to request seats on the right side of the train (Seat E) if you are travelling from Tokyo toward Kyoto, so you can have opportunity to spot Mount Fuji on a clear day. Before boarding, you can also opt to buy a bullet train lunchbox (ekiben) at Tokyo Station. Lastly, if you are travelling with large suitcases, please make use of hotel-to-hotel luggage forwarding services (Takuhaibin) or station lockers to keep your hands free on crowded city buses.
Kyoto moves at a completely different speed when compared to Tokyo. Once you finished your hotel check-ins, don’t rush to a temple that might close in an hour. Head straight to a historic walking district like Pontocho Alley & Gion which is popular for highly discreet geisha tea houses and traditional wooden machiya architecture or Nishiki Market which is a narrow with five-block shopping street packed with over a hundred lively food stalls serving traditional Kyoto seafood, matcha sweets, and local skewers.
If you have limited budget, try to prioritize your Kyoto accommodations for transit efficiency like in Kyoto Station area where it offers direct access to Shinkansen, trains, and the central bus terminal that can save valuable commuting time while staying in Kawaramachi / Gion can be a bit costly due to its strategic location to top-tier restaurants, traditional scenery, and historic nightlife.
Day 5: Classic Kyoto, But With a Practical Pace
Kyoto looks easy to navigate on map but famous spots are widely spread out, and public transport always get crowded fast. Higashiyama, Kinkaku-ji, Arashiyama, and Fushimi Inari are all worthwhile, but combining them into one day trip can feel exhausting. Hence, it is important to avoid the trap by trying to tick off every major destination in a single day.
You should focus on the core route which is the Higashiyama distric – a perfect circuit links Kiyomizu-dera, Gion, Yasaka Shrine, and the preserved historic lanes of Sannenzaka and Ninenzaka. The best serene atmosphere and photographs are found before 9:00 AM, both Todai-ji and Kiyomizu-dera can be very busy during mid-afternoon. If you are planning solo, manage your transit appropriately is the key.
Day 6: Nara, Osaka, or a Second Kyoto Day
Day 6 is the decision point where you have three alternative choices depends on your travel style. If you are into more historic cultures without moving hotels, consider taking a morning trip to Nara. The journey gives you a slower atmosphere, Nara Park, and Todai-ji Temple with the massive bronze Buddha than the big cities.
If you are more into city energy, nightlife, and food, choose to stay in Osaka instead. It feels different when compared to Tokyo and Kyoto. Umeda, Shinsekai, Namba, and Dotonbori each provides different version of the city. For a short visit, avoid to cover all of them and pick one evening food district like Dotonbori and one daytime sightseeing area such as Shinsekai.
If you feel rushed or tired, stay in Kyoto for 2nd day as this is always the underrated option. Many travellers enjoy Kyoto most when stop rushing to complete it. A slower 2nd day could be like spending your morning at the bamboo groves in Arashiyama, take a quiet lunch, and having an evening walk by the river.
Day 7: Smooth Departure or Osaka Finish
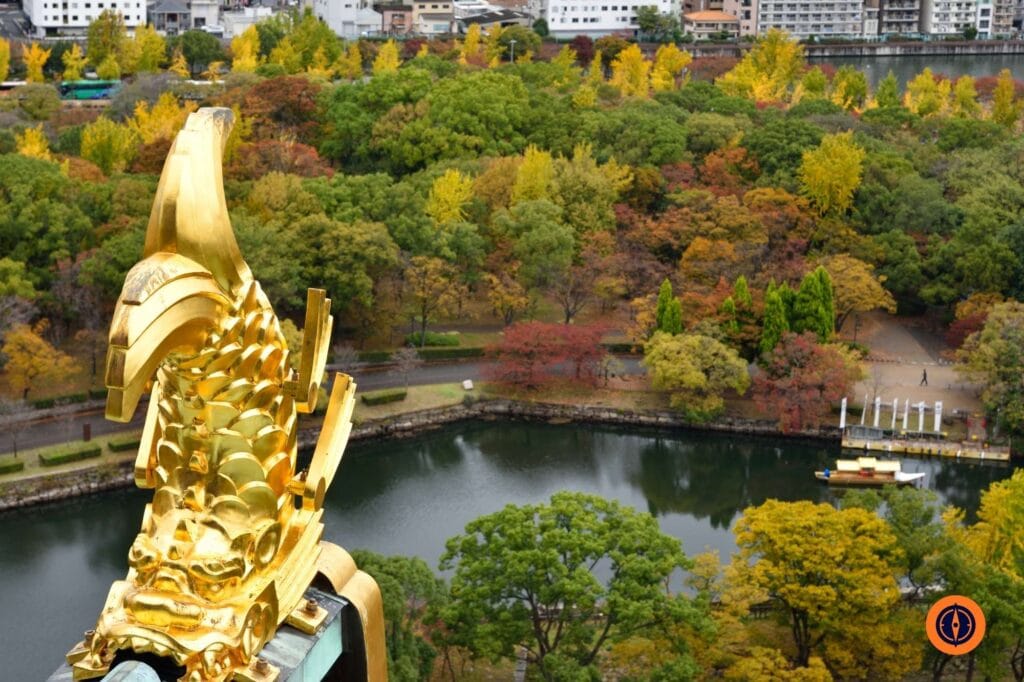
Your final day should prioritize on your departure flight, if you are departing from Kansai International Airport, staying in Osaka during the last day can be convenient. You can spend your day leisurely in Osaka, eating well with a reasonable buffer before taking the JR Airport Express HARUKA which takes about 45 minutes from Osaka station to KIX.
However, if you are departing from Tokyo, you need to be more diligent during this day when returning from Kyoto or Osaka. Train delays are unlikely in Japan but missing an international flight is definitely a nightmare you don’t want to risk on. I would rather choose to return to Tokyo the previous evening so I can have a solid buffer to deal with unforeseen delays. If your Tokyo flight is in evening and still like to wander around, you can keep the morning simple and not to plan a major attraction before a long transfer.
Where to Stay for This 7 Day Route
Choosing the right accommodation base is very important for a short trip.
Tokyo: Neighborhood Breakdown for First-Timers
- Ueno & Asakusa: The areas provide direct airport train access via the Keisei Skyliner and also perfect for budget travellers who prefer an old-school and historic Tokyo vibe.
- Shinjuku & Shibuya: Both are massive transit hubs packed with dining, shopping, and neon light. The locations are excellent for nightlife although the crowds can be overwhelming.
- Tokyo Station & Ginza: Both are generally more expensive due to strategic location for catching the Shinkansen (bullet train) to Kyoto.
- Ikebukuro: A highly connected and bustling station on the Yamanote line that balances dining and shopping with lower hotel prices.
Kyoto: Convenience vs. Atmosphere
- Kyoto Station: It is perfect to save time for smooth arrivals, departures, and day trips to Nara or Osaka.
- Kawaramachi & Gion: Both are within walking distance of evening walks, restaurants, and traditional streets. However, it requires taxi ride or a bus from the main train station.
Osaka: Street Food Culture Vs Transit Hub
- Umeda (Kita): A commercial location that is polished and modern which is the perfect option for seamless train transfer to Kobe or Kyoto and high-end shopping.
- Namba (Minami): It is the vibrant area for food and nightlife scene and also provides direct train lines to Kansai International Airport (KIX) and near to Dotonbori.
Transport Notes for 7 Days in Japan
There are massive price hikes by the JR Group which you should take note:
- Skip the Nationwide JR Pass: For a standard one-way journey from Tokyo to Kyoto or Osaka, a 7-day nationwide JR Pass is not necessary and you should purchase individual Shinkansen tickets which is significantly cheaper.
- Embrace IC Cards: Use digital transit cards like Pasmo or Suica (in Tokyo) and ICOCA (in Kansai) for seamless tapping on convenience store purchases, buses, and local subways.
- Local Passes: Only buy local day or regional passes if you plan to take at least 3 distinct train journeys in a single day. Otherwise, make full use of your IC card as a pay-as-you-go.
What to Skip with Only One Week in Japan
With only seven days, the most difficult decision is not choosing what to include but about to skip the destinations that unable to reach over in this short trip. Save the major destinations below for a longer 10- or 14-day trip:
- Hiroshima: The destination requires a 4-hour round-trip Shinkansen journey from Osaka, which will strip nearly a full day from your schedule.
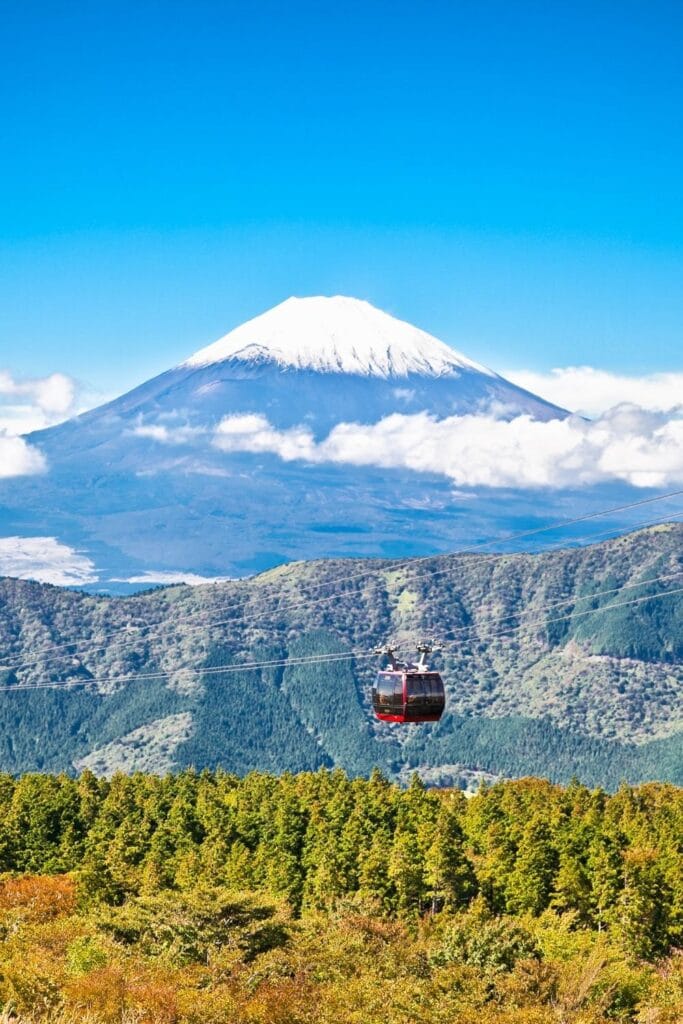
- Hakone & Mt. Fuji: Both depends heavily on the weather conditions and consume significant time for transit transfer from Tokyo.
- The Japanese Alps (Kanazawa & Takayama): Sensational historic towns that need slower bus or train routes which making them unfit for this one week trip.
- Theme Parks (Universal Studios Japan & Tokyo Disney): Both parks require a full-day and dedicated commitment. If you add one of them, you have to make a hard decision to give up for full day of sightseeing in Kyoto or Tokyo.
If you want more breathing room and slower pace, consider for 10-day itinerary which may be a better choice than trying to squeeze too much under one week plan.
Estimated Budget for This Route
The 7-day travel budget depends on travel style and accommodation timing. For budget travellers, the estimated costs per individual is around ¥110,000 – ¥150,000 excluding international flights. With this budget, you can opt for hostels or capsule hotels, free shrines, casual ramen shops, and convenience stores (Konbini).
While mid-range traveller can expect to spend about ¥150,000 – ¥240,000 with better accommodation like modern business hotels, dining and activities like paid temple entry, one major Shinkansen ticket, conveyor-belt sushi, and Izakayas.
For luxury travellers, you can spend about ¥240,000+ to enjoy 5-Star hotels or traditional Ryokans, green-car train travel, private tours, and fine dining (Wagyu/Omakase).
Tips: Accommodation prices skyrocket during peak seasons like Golden Week in May, autumn foliage in November, and cherry blossoms in late March or early April so it is critical to reserve your hotel at least 4 to 6 months in advance.
Conclusion
Seven days to Japan is sufficient for first-time visitors if you keep the route focused. The most efficient route is still belong to the classic “Golden Triangle” – Tokyo, Kyoto, and Osaka. This combination provides a balanced mix of seamless transit connections, world-class culinary, traditional culture, and modern city culture. Japan is not a destination where more movement will provide a better trip experience. At the end of the day, a memorable trip is not measured by the amount of saved pins on your Google Map. A well-planned route with strategic hotel locations will always beat the overall experience.
Frequently Asked Questions (FAQs)
Is 7 days in Japan really enough time for a first trip?
Yes. A 7-day trip is highly rewarding if you opt for the “Golden Triangle” route – Tokyo-Kyoto-Osaka. If add more destinations like Hokkaido or Hiroshima will result in burnout or overwhelming. Keep your itinerary realistic will enhance your overall travel experience.
Should I buy a 7-day Japan Rail (JR) Pass?
No. Following the massive price hikes, it is no longer cost-effective to buy a standard nationwide 7-day JR Pass for your trip that only scheduled between Tokyo and the Kansai region. It is significantly cheaper to buy individual Shinkansen (bullet train) tickets and use a digital IC card for local transit.
What is an IC Card, and how do I get one in Japan?
An IC card such as ICOCA, Pasmo or Suica is a echargeable contactless transit card used for convenience stores, buses, and local subways. Due to global shortages of physical chip, the easiest choice is to download Pasmo or a digital Suica directly into your Google Wallet or Apple Wallet before arriving.
Is it better to fly into Tokyo and out of Osaka?
Yes. This open-jaw route avoids backtracking by booking your arrival into Tokyo (Haneda or Narita) and your departure out of Osaka (Kansai International Airport) is the cheapest strategy. It removes a 3-hour return train journey and saving you approximately ¥14,000 including a full day of precious sightseeing time.
Can I use my credit card everywhere in Japan, or do I need cash?
While Japan has become more card-friendly, but for small transactions, they still prefer cash in general. For example, traditional ramen ticket machines, coin lockers, temple entrance fees, and street food stalls. You can withdraw your cash easily at any 7-Eleven ATM by using your international debit card.
Disclosure: This post may contain affiliate links.



Compare prices across top platforms in seconds.